Every hole in a CNC program starts with a decision most shops make on autopilot. On paper it is a spot drill. In practice it is sometimes a center drill left over from the lathe department, sometimes a 90° chamfer mill pressed into double duty, and sometimes nothing at all — which is usually where the trouble starts. The starter cut sets the position of the hole, sets the entry geometry, and quietly decides whether a drill wears evenly or chips a corner on the third part of a batch. This guide covers what each of the three tools actually does, where each one wins, and the numbers that keep a spot from turning into a defect.
Why the First Half Millimetre Decides the Hole
A twist drill is a flexible two-flute cutter with a chisel edge at its centre. That chisel edge does not cut well — it scrapes — and the radial force it generates is exactly what makes a drill walk off position on a flat surface. A conical seat changes the mechanics: the drill’s two lips land on a surface already cut at the right angle, the forces balance, and the drill enters on axis. That is the entire job of the starter cut. It is not about removing material. A good spot removes almost nothing and takes well under a second per hole.
What a Spot Drill Actually Does
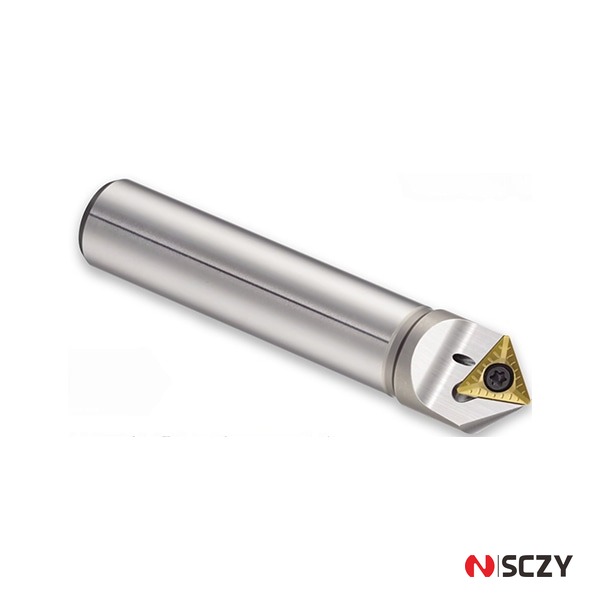
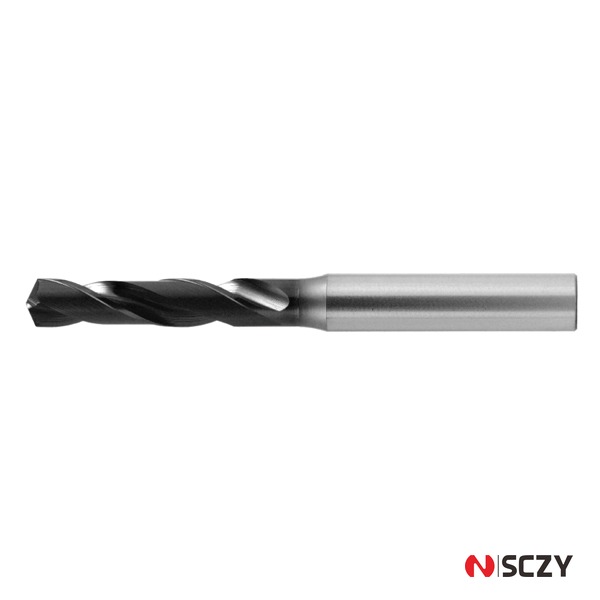
A spot drill produces a shallow cone whose included angle matches the drill that follows, plus a small flat at the bottom. Three things come out of that cone. First, position: the drill cannot slide sideways because both lips are already engaged. Second, entry quality: a supported entry means the corners of the drill are not slammed into a corner radius or a saw-cut edge, which is where most small drills fail. Third, repeatability: the same seat on every part means the same entry load, so tool life stops being a lottery.
Where Shops Get It Wrong
Two failures dominate. The first is a spot that is too small. If the cone diameter at the surface is narrower than the drill’s chisel edge, the lips never get a full seat and the drill walks anyway — four seconds per hole spent for nothing. The second is a spot that is too wide or too deep. The drill’s outer corners then have to open a cone wider than its own point angle, the margin rubs the wall on entry, and the result is a bell-mouthed hole, a burr ring at the surface, or chipped corners on small-diameter drills. In stainless steel and other work-hardening alloys there is a third trap: dwelling at the bottom of the spot hardens the surface exactly where the drill needs to bite, and drill life drops by half.
The Three Tools Side by Side
| Tool | Point geometry | What it does best | Main weakness | Typical use |
|---|---|---|---|---|
| Spot drill | 90°, 120° or 142° cone, solid carbide or HSS | Accurate conical seat matched to the drill point angle | Single purpose; useless once the drill is running | Position-critical holes, hard materials, production drilling |
| Center drill | 60° cone with a thin pilot tip | Cheap, stiff, short; ideal for lathe centres | 60° does not match 118°/135° drills; fragile tip | Lathe work, tailstock centres, low-volume manual setups |
| 90° chamfer mill | 90° included, solid carbide or indexable insert | Spots and deburrs in one tool; interpolates chamfers | Rounded or stepped seat; limited depth accuracy | Parts with edge-break requirements, short-tool-list machines |
Spot Drill vs Center Drill: The Real Difference
Center drills were designed for lathe work — putting a 60° cone in a shaft so a tailstock centre has somewhere to sit. They are short, stiff and inexpensive, which is exactly why they end up in milling chucks. The geometry, however, was never intended for drilling. A 60° included angle is narrower than any common drill point, so a 118° or 135° drill lands on the cone with its outer corners first while the chisel edge is still in the air. The entry becomes two-stage, and the drill has a real chance to skid on the second stage. Center drills also carry a thin pilot tip that snaps easily at CNC feed rates and cannot be resharpened many times.
A spot drill is a milling tool from the start: a 90°, 120° or 142° point, short flute length, a body sized to the drill it precedes, and often a coolant hole. On a vertical machining centre it produces a clean seat in one plunge, and the 90° versions double as chamfering tools for edge breaks.
Match the Point Angle to the Drill
The rule is simple and it is the rule most shops break: the spot angle should be equal to, or one step wider than, the drill’s point angle. A 118° HSS drill pairs with a 120° spot. A 135° or 140° carbide drill pairs with a 142° spot. A 90° spot in front of a 135° drill is the classic mismatch — the drill cuts a second cone inside the first, the entry shows a visible step, and the drill’s corners do the work the lips should be doing.
Depth: Two Numbers Worth Memorising
Cone depth for a target diameter follows d = D / (2 tan a), where a is half the included angle. For a 90° spot the depth is D / 2; for 120° it is about 0.29 x D; for 142° about 0.17 x D. To open a 6 mm seat with a 120° spot, plunge 1.75 mm. As for the seat diameter itself, the minimum is the drill’s chisel edge width — roughly 0.15 to 0.25 x D on a standard 118° point — while position-critical work generally runs 0.5 to 1.0 x D. Past about 1.2 x D you are no longer spotting, you are countersinking, and the drill corners pay for it.
When the Chamfer Mill Wins
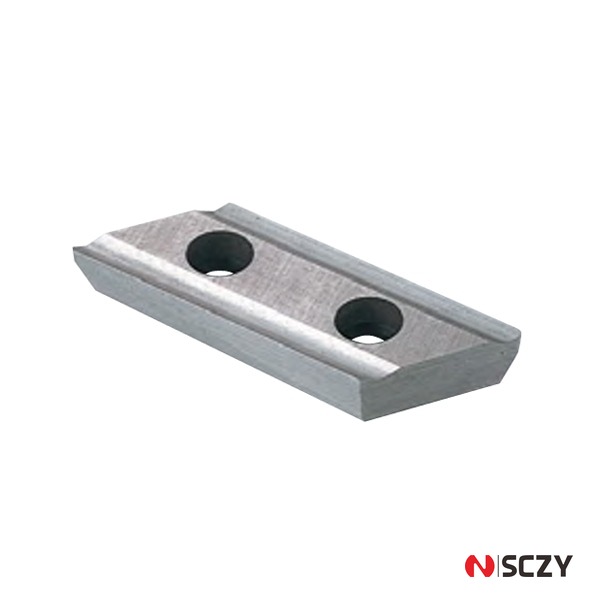
On a machine with a short tool list, or on a family of parts that all need edge breaks, the 90° chamfer mill often replaces the spot drill outright. It plunges to spot, then interpolates the chamfer at the same setting, and on a through hole it can break both edges without a second operation. Solid carbide chamfer mills spot small drills well because the point is sharp and the tool is stiff; indexable versions with replaceable inserts handle large chamfers and abrasive workpieces far more cheaply per edge.
The Cost of an Extra Tool
A tool change costs three to eight seconds, plus one more offset to set, one more position in the magazine, and one more tool to monitor for wear. On a 500-hole job an extra five seconds per hole is over forty minutes of spindle time doing nothing. That arithmetic is why so many shops try to spot with whatever chamfer tool is already in the machine — and it is a legitimate trade as long as the seat is honest.
Where a Chamfer Mill Falls Short
A chamfer mill with a small corner radius leaves a rounded seat, and a drill can still walk on a rounded seat. Plunge shallower than the corner radius and you get a stepped seat rather than a cone. Deep or accurately sized seats are also outside its comfort zone, because the periphery, not the point, is doing the cutting. For a 0.3 mm edge break on a bracket, none of this matters. For a 12 mm hole held to plus or minus 0.05 mm position, it does.
Speeds, Feeds and Depth in Practice
Spotting tolerates a wide range, but two habits matter more than any chart: never dwell at the bottom, and keep the spot shallow enough that the drill still has material to cut. As starting points on a rigid VMC, an 8 mm solid carbide 90° spot drill in P20 runs around 1800 to 2400 rpm at 0.04 to 0.06 mm/rev plunge; an HSS spot drill in mild steel runs 600 to 900 rpm at 0.05 to 0.08 mm/rev. In aluminium, raise the speed and keep the feed light so built-up edge does not pull the seat out of shape. In stainless, drop surface speed by 40 to 50 percent and spot in a single plunge with no peck and no dwell.
Failure Modes and What They Tell You
Most spotting problems announce themselves clearly if you know where to look. A bell-mouthed entry means the seat was too wide or too deep, or the drill margin rubbed the wall. A drill that still walks means the seat was narrower than the chisel edge, or the surface under the spot was not flat — a cast or saw-cut surface needs a machined pad first. Chipped drill corners point to a work-hardened seat, too deep a spot, or too high an entry feed. A visible two-step entry is an angle mismatch. A burr ring at the surface is margin rubbing, cured by a slightly wider seat or a lighter entry feed. Squeal at entry usually means the spot tool is hanging too far out of the holder, or the spot diameter is too small relative to the drill.
A Buying Checklist
- Angle availability. A supplier who only stocks 90° spots will push you toward a 90° seat for every drill. Confirm 120° and 142° are available as standard.
- Body diameter versus drill range. One spot drill should cover a range of drill diameters without the body crowding the workpiece on contoured parts.
- Coating. Uncoated or TiAlN for aluminium and non-ferrous work; AlTiN or TiAlN for steel. A coating meant for steel will drag on aluminium.
- Coolant through the body. Worth having for deep seats, horizontal work, and inverted-spindle setups where chips collect on the cone.
- Regrind support. Solid carbide spot drills can be repointed several times; confirm the supplier offers it, or budget for replacement instead.
- Holder compatibility. A 20 mm shank drops straight into a side-lock holder; smaller shanks belong in an ER collet chuck, where runout at the tip decides the concentricity of the seat.
Fitting the Starter Cut Into Your Process
None of these tools is expensive; the cost is in choosing the wrong one and discovering it three operations later. The practical sequence is straightforward: pick the spot drill that matches your drill’s point angle, size the seat to the chisel edge and no more, hold the spot tool short in a clean holder, and only then decide whether a chamfer mill can absorb the job. Shops that get the starter cut right tend to stop blaming their drills for problems that were never the drill’s fault.
If you are building out a drilling sequence — spot drills and chamfer mills in 90°, 120° and 142°, matched to the drills and holders you already run — our team can put together a small trial set with the angles, coatings and shank sizes that suit your materials. Send us your hole sizes and workpiece material through our contact page, and we will come back with a concrete recommendation rather than a catalogue dump.